
The two above sentences seem totally unrelated, but I had an idea. Why not cut the skirt up and make it into aprons for Helen and Amy? I got on the internet and searched for tutorials on how to transform a women's tiered skirt into a girl's apron, but found nothing. So, being the confident firstborn that I am, I decided to make the aprons without a guide--and live to tell about it.
 |
| Helen and Amy in their matching aprons |
So here's how to turn an old skirt into a new apron:
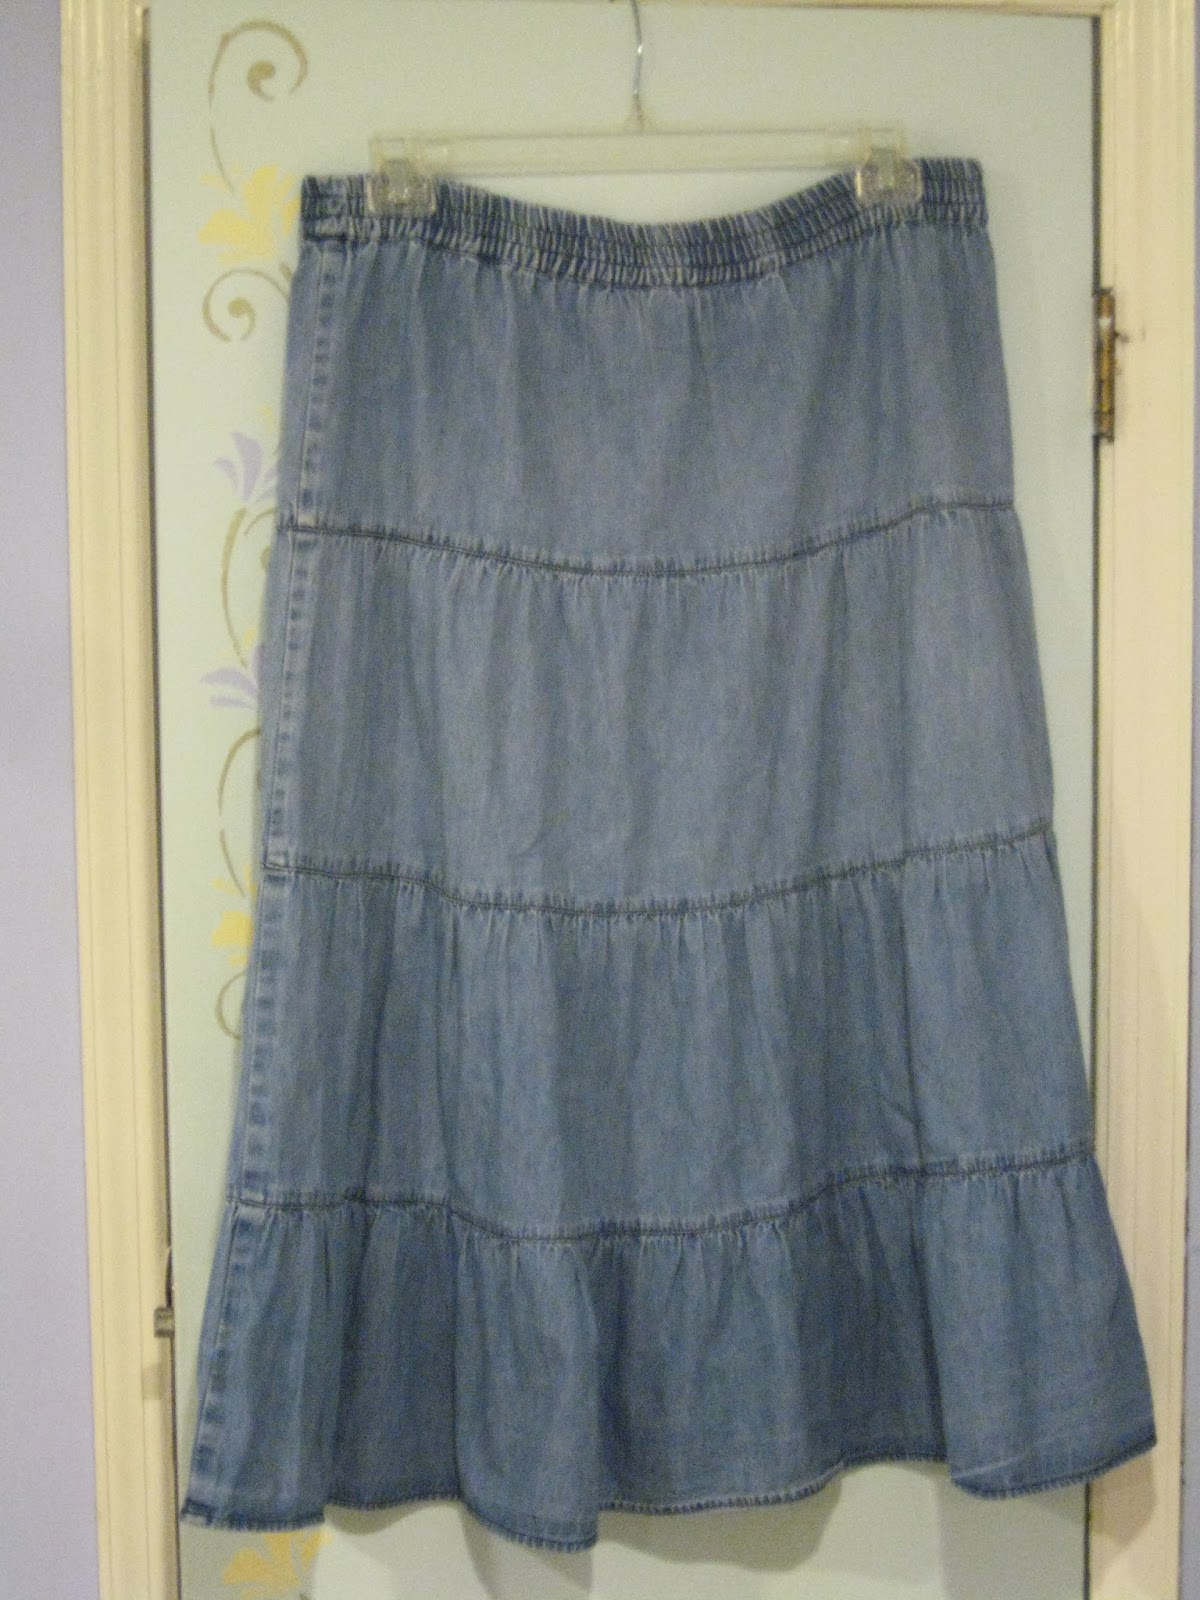
1. Grab a skirt past all hope. More correctly, a skirt past all your hope. If you are fresh out of old skirts, ask all your friends and relatives. Or go to Goodwill. Whatever floats your boat.

2. Use the bottom two tiers for a child's apron (or a short one for yourself) or three tiers for a longer adult apron. You could even add a ruffle to the bottom. Be creative!
3. Measure how wide you want the top of the apron to be; add one inch for hem allowance. I wanted 12 inches, so I measured 13 inches at the top of my second tier (which will end up being the top of my new apron).

4. Draw a line down to bottom of skirt to mark where bottom of apron should be. I used pins, but for this blog post I drew it with the paint feature on the laptop. Oh, the beauty of the virtual. You can even click "undo" if you draw it wrong. Real life isn't so forgiving.
5. Warning: This is going to be the hardest emotional step in making a skirt. Face your fears of ruining an already ruined skirt and cut! Remember, this skirt was going in the trash anyway, so you can't make it's fate much worse. I cut along the side the seam of skirt on one side and down my lovely visual line for the other. Just make sure that the sides are (somewhat) symmetrical. All those hours of studying geometry are finally paying off.

6. If you are making more than one, go ahead and cut out the second using the first as a pattern. The more the merrier!


8. Hem sides.

9. For the waistband, cut a strip of fabric 3 inches wide by however long you want long. I used 54 inches for a five year old, but it's up to you. If you already have an apron you love, measure the ties from end to end.
10. Fold 1/4 inch down each side of strip, and iron.
11. Fold another 1/4 inch (to hide the raw edges). Iron again.
12. Baste on to the top of your apron, but make sure that the center of the apron matches up with the center of the ties. Or don't, if you are like the crooked man of Mother Goose fame.

13. Sew!
14. Turn the ends of the ties in on themselves and sew securely.
15. Cut the threads, unplug the sewing machine, and cook up a wonderful holiday meal for your family and friends!
Repeat as wanted. I certainly intend to.
Joy
1 comment:
Thank you so much for our adorable apron! It's been washed TWICE in its first week. Definitely getting lots of use by a very happy little kitchen helper! We love y'all!
Post a Comment